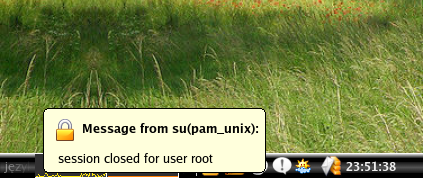
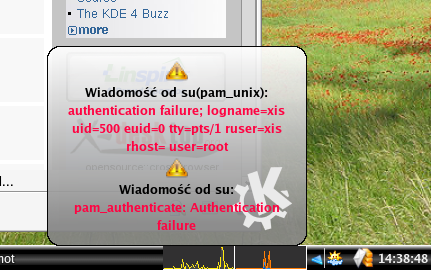
Creating a popup theme for MetaMonitor isn't hard to do. You just have to have some graphics editor (Gimp or Inkscape for example) and some text editor (like KWrite or mcedit).
This document will help you to create your first theme. It is divided into the two parts. The first will help you to prepare the necessary files, and the second one will show you how to create the theme.ini file.
As you can see all the themes must have 4 corners and borders. It also should have the body (the inner rectangle). It is a very good idea to remember this elements' widths and heights, because you'll need them when creating the theme.ini file.
You should remember that the corners won't be tiled nor scaled. The borders' pixmaps will be scaled (for example the top border pixmap will be stretched to fit the popups' width, and the left/right borders will fit the popup's height). The center pixmap will be stretched to fit the popup's width and height.
You also should know that every left pixmaps (top left corner, left border, bottom left corner) should have the same width, every right pixmaps (top right corner, right border, bottom right corner) should have the same width, every top pixmap (top right corner, top border, top left corner) should have the same height, and every bottom pixmap (bottom left corner, bottom border, bottom right corner) should also have the same height.
You can use pixmaps with alpha channel in your theme (in corners, borders, and body).
Every corners', body's, borders' pixmap should be saved in your theme directory. You can specify any filename, but the good idea is to call them properly, for example:
If your theme uses rounded corners or if you use some fancy borders' shape you should create mask pixmaps. You should know that in KDE, every widget (and a popup is a widget) is a rectangle, so if you use the composite extension with shadows, the XServer will draw a shadow for rectangle widget. This looks ugly, so you can 'tell' the XServer that your theme isn't actually a rectangle. You can use 2 colors (black and white) bitmaps in which every white color means that this place is transparent, and the black pixels means non-transparent place. If you plan to create the mask you can load your corners/borders pixmaps, make them 2 colors bitmaps (for example in gimp: RMB on the image, image->mode->indexed->2 bits mode). Now you must fill the places you want to be visible with black color, and fill with the white color the rest of it. That's it! Your mask is created. You can now save the mask bitmap in your theme directory. For example:
Note that the mask files must be the same size as their equivalents!
[MetaMonitor Theme]
ThemeAuthor=<your name/nick here> ThemeVersion=<theme version number> ThemeDescription=<short theme description> ThemePreview=<theme preview's filename>
Of course you don't have the preview's file so far (I suppose), so you can set the base's filename for now (you can do the theme's screenshot later and change this filename).
You can also translate the theme's description. For example if you want to put the polish description, you should add this line there:ThemeDescription[pl]=<polish theme description>
TopRight=<top right's corner filename> TopLeft=<top left's corner filename> TopCenter=<top border's filename> CenterLeft=<left border's filename> CenterCenter=<body's filename> CenterRight=<right's border filename> BottomCenter=<bottom's border filename> BottomLeft=<bottom left's corner filename> BottomRight=<bottom right's corner filename>...and the mask files (if there are any):
TopLeftMask=<top left corner's mask filename> TopRightMask=<top right corner's mask filename> BottomLeftMask=<bottom left corner's mask filename> BottomRightMask=<bottom right corner's mask filename> TopMask=<top border's mask filename> LeftMask=<left border's mask filename> RightMask=<right border's mask filename> BottomMask=<bottom border's mask filename>You don't have to put all the masks' filenames if you didn't do them. Just put the masks filenames which you've prepared.
LeftMarginWidth=<left margin's width> RightMarginWidth=<wight margin's width> TopMarginHeight=<top margin's height> BottomMarginHeight=<bottom margin's height> MarginWidth=<message's margin width>
The LeftMarginWidth, RightMarginWidth, TopMarginHeight and BottomMarginHeight are values equivalent to left border's width, right border's width, top border's width and bottom border's width (must be exactly the same as the borders/corners pixmaps' sizes).
The MarginWidth value is worth explanation. It is the margin of the message in the popup, which means the distance of the popup's borders to the message's body.
TextColor=<message's text color> SenderColor=<sender's text color> Body=<message's body layout>The TextColor and SenderColor values must be a HTML notation of a color. You can set the RGB value, for example #001267, or the color's name from the web color's palette, for example 'white' (with no quotes). If you don't specify these values, the defaults will be used. The default values for this fields are the tooltip's pallette foreground color (black).
The Body line let's you to specify the message's layout using the Qt Richtext. It is a language simillar to HTML, but much simpler. You can use the tags specified by QStyleSheet in your theme. The default value is
<nobr>%IMG <nobr><b>%SENDER</b></nobr></nobr><br />%TEXTNote that you don't have to put the <qt> and </qt> tags. They are added automatically. Remember that the %IMG will be replaced by the message's icon, the %SENDER will be replaced by the 'Message from foo' line and the %TEXT will be replaced by the message's text.
Also note that if the message will contain an anchor (when the command trigger is enabled) the anchor code will be added to the messages's text.
[Additional Pixmap <number>] Path=<the pixmap's filename> XAlign=<X alignment of the pixmap> XOffset=<X offset of the pixmap> YAlign=<Y alignment of the pixmap> YOffset=<Y offset of the pixmap>This section will tell MetaMonitor to load new pixmap and put in into the theme in the specified position. The values are:
tar -cvzf <themeName>.tgz <themeName>... where themeName is the name of your theme's directory. You can also use Ark to create the archive. Just remeber that the archive must contain the theme directory (not only a files, but the directory with all it's entries).
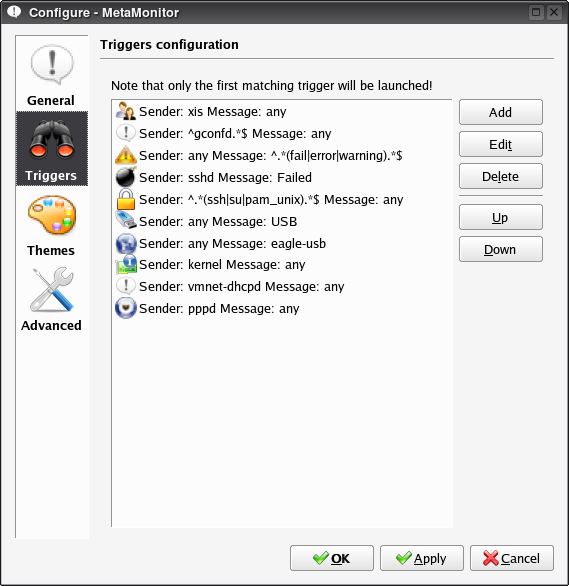
Now you can test your theme. In MetaMonitor's config window click the 'Themes' section, then click the 'Add theme' button and choose the newly created archive. Click 'OK' and 'Apply'. You can now test how it works by writing in the console:
logger this is a test...or using the DCOP mechanism:
dcop metamonitor-`dcop | grep metamonitor \ | awk -F- '{print $2}'` metamonitor addMessage 'sender' 'text'Once your theme is created and works fine (you might want to change some values) you can now prepare the theme's screenshot. Run KSnapshot, for example, and make a screenshot when popup with your theme is visible. Remember that the screenshot must not be bigger than 300x180 pixels, so you may want to scale/cut it in your graphics editor. When you create the preview file, save it in the theme directory as (for example) preview.png and update the theme.ini file's ThemePreview line. Create the archive once again and your theme is now ready!
Congratulations! Your theme is finished!
If you're in doubt, check out this theme example file.
If you find any bugs or have questions about this document, please send me an email and I'll try to update it.